Are you interested in learning how to make custom embroidery designs? In this comprehensive direct, we’ll walk you through the step-by-step process of making your claim unique embroidery designs. Whether you’re a beginner or have little involvement with embroidery, this direct will assist you in making stunning custom embroidery designs that you can proudly show on clothing, domestic stylistic layout, or any other extent you select.
Understanding the Basics of Embroidery Design
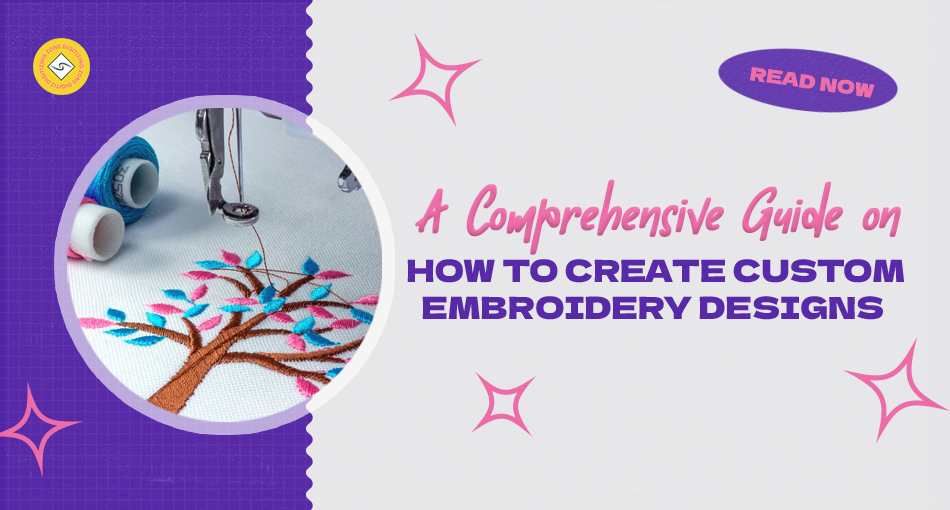
Embroidery, at its center, is an art frame that utilizes needle and string to beautify fabric with a cluster of designs and themes. Getting a handle on the basic concepts of embroidery is pivotal for anybody trying to craft custom embroidery designs. Among the primary aspects of getting it is the diverse stitches that shape the spine of any design. Key stitches such as the satin stitch, known for its smooth, smooth finish, the chain stitch, which arranges circled joins taking after a chain, and the French tie, idealized for including little, detailed specks, are fair the starting.
Additionally, it’s important to recognize the role of fabric choice in the success of your project. Different fabrics can affect the appearance of your stitches and the overall durability of the design. Likewise, thread selection is not just about color. The thickness and type of thread can dramatically alter the texture and visual impact of your design.
Familiar tools embroidery hoop
Understanding embroidery also means becoming familiar with tools like the embroidery hoop, which stretches the fabric and keeps it taut for even stitching, and the various needles available, each designed for specific types of thread and fabric.
By familiarizing yourself with these basic components, you set a strong foundation for your journey into creating custom embroidery designs. This knowledge not only aids in the execution of your projects but also inspires creativity as you begin to see the endless possibilities embroidery offers. As you delve deeper into the craft, these fundamentals will guide your decisions, from design conception to the final stitch.
Choosing the Right Materials for Your Project
Selecting appropriate materials is a pivotal step in your journey toward creating custom embroidery designs. The quality and type of embroidery floss you choose can significantly influence the vibrancy and durability of your finished piece. Embroidery floss is available in a variety of materials, including cotton, silk, and rayon, each offering its own texture and sheen. For beginners, cotton floss is recommended for its ease of handling and wide range of colors.
An embroidery hoop is another essential tool that cannot be overlooked. Hoops come in different sizes and materials, such as wood, plastic, and metal. The choice of hoop size should be based on the size of your design and the type of fabric you are using. A correctly sized hoop will ensure your fabric is kept taut and makes the embroidering process smoother.
The fabric you select will serve as the canvas for your design. Opt for a fabric that complements the type of embroidery you are planning. Common choices include cotton, linen, and canvas for their tight weave and durability. However, delicate designs may require finer fabrics such as silk or muslin.
Execution of your embroidery
Needles play a pivotal part in the execution of your embroidery. Embroidery needles, also known as crewel needles, come in different sizes to suit distinctive thread thicknesses and fabric sorts. Selecting the correct needle measure will prevent the fabric from being damaged and guarantee that the thread moves easily through the fabric.
In conclusion, having a clear design in intellect or on paper is essential before you begin sourcing your materials. This foresight ensures that you just select materials that not as it were coordinate the stylish requirements of your design but also its functional needs, leading to a more fulfilling embroidery experience.
Planning Your Embroidery Design
Embarking on the planning phase of your embroidery digitizing project is an exciting step where your vision begins to take shape. The key here is to deliberate on the specifics of your design, including its overall size, precise location on your chosen fabric, and the color palette that will bring it to life. Start by sketching your idea on paper. This practice not only solidifies your concept but also serves as a valuable reference during the stitching process.
Consider the aesthetic and thematic elements of your design. Are you aiming for bold and vibrant, or subtle and delicate? The answers to these questions will guide your choice of stitches – for example, intricate details may call for finer stitches. Like the backstitch or split stitch, while larger areas could be filled with satin stitches or long and short stitches for texture and depth.
Important to visualize the color transitions
It’s also vital to visualize the color moves and how they’ll contribute to the overall impact of the embroidery. Test with color combinations, keeping in intellect the sort of threads available to you, and how they interact with the fabric’s color and surface. This step is crucial for ensuring that the ultimate piece is outwardly cohesive and matches your starting vision.
Lastly, consider the practical viewpoints of your design’s arrangement on the fabric. Ensure there’s sufficient space around the design for surrounding or finishing edges if required. This foresight in arranging not only clears the way for a smoother embroidery process but also improves the ultimate introduction of your custom design.
Digitizing Your Embroidery Design
For those looking to bring their custom embroidery designs into the modern era, digitizing is an essential step that bridges traditional craftsmanship with contemporary execution. Digitizing transforms your hand-drawn artwork into a format that embroidery machines can interpret, allowing for intricate and precise stitching that manual methods cannot easily replicate.
To start the digitization preparation, you’ll to begin with require a clear and finalized adaptation of your design. This might mean refining your beginning sketch to guarantee all points of interest are precisely as you want them. Once fulfilled, the other step includes choosing the correct digitizing computer program. There are several options in the market, extending from beginner-friendly programs to progressed software that gives a better level of customization and control. Whereas a few computer programs may require a one-time buy or subscription, there are too many free tools available that can cater to essential digitizing needs.
Use digitizing software
Learning to use digitizing software can be a challenge, but most programs come with comprehensive tutorials and support forums that can help ease the learning curve. The digitization process allows you to specify stitch types, color changes, and sequencing, providing complete control over how the embroidery machine executes your design.
For those less inclined to tackle digitizing personally, professional digitizing services are an alternative. These services can convert your artwork into a high-quality digital embroidery file, ensuring every detail is captured and optimized for the best possible outcome on fabric.
Regardless of the path chosen, digitizing your embroidery design opens up a world of possibilities, allowing for more complex, detailed, and consistent results that truly elevate your embroidery projects.
Transferring Your Design to Fabric
Once your design is ready and digitized if applicable, the next crucial step is transferring that design onto your fabric, setting the stage for the actual embroidery work. There are multiple methods for accomplishing this, each suited to different types of designs and fabrics. For those working with a simple, hand-drawn design, using a water-soluble pen to trace your design directly onto the fabric is a straightforward and accessible method. This pen allows for precision and can easily be removed with water after the embroidery is complete, leaving no trace behind.
For more complex designs or for those who prefer a less hands-on approach, iron-on transfers offer a convenient alternative. This method involves printing or purchasing a pre-made transfer of your design, which can then be ironed onto the fabric, transferring the ink in the process. It’s a quick way to get intricate designs onto fabric without the risk of human error in tracing.
Another method involves the use of embroidery stencils
Which are especially valuable for repeating designs or designs. Stencils can be put over the fabric, and a stamping device is utilized to fill within the design. This strategy is perfect for making reliable and uniform designs over bigger pieces of fabric.
Each of these strategies has its points of interest, and the general choice generally. Depends on the complexity of your design, the fabric you’re utilizing, and your preference. Whichever strategy you select, ensure the design is situated accurately. And is visible to direct you’re stitching, setting you up for an effective embroidery project.
Embroidering Your Design
Now that your design is meticulously transferred onto the fabric, you’re set to begin the rewarding process of embroidery. Initiate your project by threading your needle with the chosen embroidery floss. As you start, remember to pull the thread through to the front of the fabric at the start of your design, securing it with a small knot at the back or by embroidering the end under your first few stitches to hide it.
Progress through your design by carefully following the sketch or pattern. You’ve planned and applied the stitches you’ve selected for each section. If your design involves various colors, keep them organized and switch. Threads as needed to maintain the integrity of your color scheme. Please pay close attention to the tension of your stitches. They should be tight enough to hold the design in place, but not so tight that they pucker the fabric.
As you embroider, periodically step back to assess your work from a distance. This practice helps to catch any discrepancies in stitch size or color placement early, allowing for corrections before they become too integrated into the design.
Embroidering your design is a meditative and detailed process. Enjoy the rhythm of the needle and thread moving through the fabric, and watch as your custom embroidery design gradually comes to life. Keep a steady pace, and allow yourself breaks to rest your hands and eyes, ensuring that each stitch is made with care and precision.
Finishing Touches and Aftercare
After completing your embroidery, it’s crucial to give your project the proper finishing to ensure its longevity and aesthetic appeal. Begin by carefully cutting away any excess threads, taking care not to snip the fabric or the embroidery itself. If you have loose ends on the backside of your work, secure them by weaving them into the back of your stitches with a needle. This not only neatens your work but also helps prevent unraveling.
Next, gently wash your embroidered piece to remove any marks from water-soluble pens or residues left from stabilizers. It’s important to use a mild detergent and lukewarm water, hand washing delicately to avoid distortion of the stitches. After washing, lay the piece flat on a clean towel to air dry, or use an iron with a pressing cloth to remove any wrinkles and give your embroidery a crisp, finished look.
Remember, different fabrics and threads may have specific care requirements, so consider these before washing and drying your embroidered item. Proper aftercare ensures your embroidery remains vibrant and intact, allowing you to enjoy the fruits of your labor for years to come.

Conclusion: custom embroidery designs
Setting out on the travel of creating custom embroidery designs opens up a domain of endless conceivable outcomes. This direct has given you a comprehensive guide, from understanding the essentials and selecting the correct materials. To digitize your designs and bring them to life on fabric. As you wander into this inventive interest, remember that each stitch contributes to your development as an embroiderer. Improving your skills and allowing your artistic vision to flourish.
The method is filled with both challenges and triumphs. Welcomes you to test, personalize, and improve, making each project uniquely your claim. Let the tips and methods shared here motivate you to explore the endless potential of custom embroidery. Changing standard items into extraordinary works of art. Your embroidery travel may be a canvas awaiting your personal touch. So thread your needle with certainty and let your designs tell your story.
If you want to digitize embroidery design you would need a professional digitizing zone, as digitizing is a complex process.
So, if you need a digitizing or vector art service for your embroidery machine, with a super-fast turnaround and excellent quality, Digitizing Zone will be your best choice. Just click the link below and get a free quote in less than 5 minutes. We offer 50% off on all our services to our potential customers.
Hope it will be helpful for you guys!
If there’s any question related to this article you can simply ask in the comment section and don’t forget to share with those you think might be helpful for them.
And finally, thanks for reading!